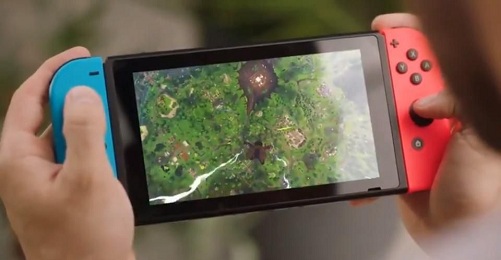
On single Nintendo Switch, up to eight accounts can be used. It is a great way if you have a single Switch in your home. Every account makes a new device in the one body, means each account can use its personal settings and data. Each user can log in to their Nintendo account, and create their own profile settings, redeem Nintendo rewards, use their own mode of payment to buy items from eShop, and play online games. So, creating a separate account is an excellent way to use a single Nintendo device between multiple users.

Follow the given guide to create a new Nintendo account and link it to your Switch.
How to create a Nintendo account
Creating an account is also necessary to access and enjoy all the features of Nintendo Switch such as playing games online and purchase new games from eShop and much more. It is not essential to use a Switch device to sign up for a Nintendo account you can create an account for you from your mobile or PC. Only the device you’re using should have an internet connection. So, everything is ready. Go along with the steps.
1. Start a browser on your mobile or PC.
2. Enter the address “accounts.nintendo.com/register ” into the search bar.
3. Hit ‘Enter.’ Sign up form is on your display, now you have to fill it.
4. Enter your Nickname, email address, password, date of birth, gender, country, and time zone. Use the instruction display for each field to complete filling up the form.
5. Read, click and check both the boxes provided at the end of the form.
6. Check the details you’ve provided. If everything is filled correctly, the red ‘Submit’ button at the bottom will activate.
7. Hit the red ‘Submit’ button. This will send a verification code to your email and open a new page with a big Verification Code box to enter the code into it.
8. Open a new tab and check your email inbox to find the verification code. The verification is written in the center of the email.
9. Switch to the previous tab, and enter the code into the Verification code box.
10. Hit the red ‘Verify’ button.
Well done! You’ve successfully submitted your form for creating a Nintendo account. Your account will be created in 24 hours, now just wait and see.
How to link a Nintendo account to your Nintendo Switch
1. Hold your Nintendo device and click the ‘Power’ button. Nintendo’s power button has a circle with a line on it and is located at the upper left side of the device near the volume button.
2. After turning on your Switch, press the ‘Home’ button to open the Home screen.
3. From there, click on the ‘System Settings’ (Gear) icon to enter into the device settings.
4. Go to ‘User’ from the System Settings menu at the left.
5. Then click on the ‘Add New User’ button at the bottom of the menu.
6. Click the ‘Next’ button at the center. You’re going to select an icon for your profile and nickname.
7. Look at the icon and choose the one you like most. If you want more images to choose from, click on the ‘More Options.’
8. Then, enter a nickname for your profile.
9. Click ‘OK.’
Your User Profile will be added to your Switch. Now, complete the left steps to link your Nintendo account.
10. Now, click on ‘Sign In and Link.’
11. Then click on ‘Sign in using an e-mail address or User ID.’ It is the first option on the next screen.
12. Type the Nintendo account’s email address.
13. Then type the password associated with the account. After entering both the field correctly, Sign in button will activate.
14. Click on the ‘Sign in’ button.
Successfully linked a Nintendo Account! This message will appear on your Switch display, click ‘OK’ and enjoy.
Kellie minton is an avid technical blogger, a magazine contributor, a publisher of guides at mcafee.com/activate, and a professional cyber security analyst. Through her writing, she aims to educate people about the dangers and threats lurking in the digital world.

No comments:
Post a Comment