Gmail is not only an emailing platform for users today. After it has introduced several amazing features apart from sending and receiving emails, billions of users have started to like this online emailing service. Emailing on Gmail has become an essential part of our daily routine, whether you are a professional or not. Users can send and receive large attachments attached in an email to any user around the world. Besides this, many users ask if they can use Gmail offline without an internet connection, fortunately, the answer is Yes. Apart from Google Docs, Slides, and Sheets, Google Chrome browser on your PC or laptop allows you to use Gmail offline. Very few users know about this amazing feature of Gmail, which allows you to use it even when you are offline.
Here’s how to use classic Gmail offline
To use the classic version of Gmail offline that you usually use on your laptop or PC, follow the steps listed below:
- At first, install the Gmail app from the Chrome Web Store.
- Install the app on your PC and search ‘Gmail Offline’ by using the search key on the Chromebook keyboard.
- Give permission to store because you are opening Gmail Offline for the first time on your PC.
- Now click on Allow Offline Mail to use storage to store Gmail data offline.
- After allowing offline mail, now you will see the main interface of Gmail offline.
- In case you want to use Gmail offline for the second account, go to the sidebar menu by clicking on the three lines on the top left corner of the screen.
- Now, click on the Add new account option to add a secondary account in Gmail Offline.
Here’s how to remove Gmail offline
Using Gmail offline is temporary for any user who does not have not an internet connection for a specific time. No user prefers using Gmail offline all the time. And it is quite essential to know how you can remove Gmail offline from your PC or laptop. To remove Gmail offline, follow the steps listed below:
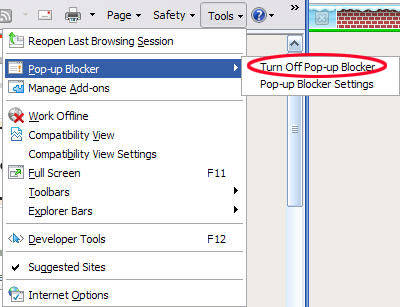
- Open Chrome browser on your PC.
- Now, click on the three dots available at the top right corner of the screen.
- After that, choose Settings from the available options by clicking on it.
- Now click on the Advanced tab by scrolling down a bit inside the Settings page.
- Next, inside the Advanced Settings, click on Privacy & Security tab.
- After that, click on Content settings.
- After opening up of the Content Settings tab, go to the Cookies menu.
- Click on ‘See all cookies and site data’ option under the Cookies menu.
- Now, choose ‘Remove all’ option under See all cookies and site data.
- Once on click on the Remove all option, Gmail offline and its entire data will be removed from your PC.
Kellie Minton is a self-professed security expert; he has been making the people aware of the security threats. His passion is to write about Cyber security, cryptography, malware, social engineering, internet and new media. He writes for Norton security products at norton.com/setup.